Our town doesn't go back to school until Thursday, September 8th - quite a late start, but it has to do with teacher contracts and whatnot. So, I know I'm a little late to the back to school party. :-( We also don't get out of school until almost July 4th some years because of snow days. Hopefully, we will get the names of my boys' teachers soon, and be able to personalize some "welcome back" gifts.
Here's my idea for a Welcome Back gift: I'm calling it "A Recipe for Success." Teachers love supplies, depending on where you live, these supplies are more essential than other locations, but from working in the school district as an aide, I learned that teachers love a few things: supplies, candy, coffee (and booze - although the latter would not be an appropriate gift from your child! :D)
If this is too late for a back to school idea for you, it could still be used for an inexpensive Christmas gift!
 |
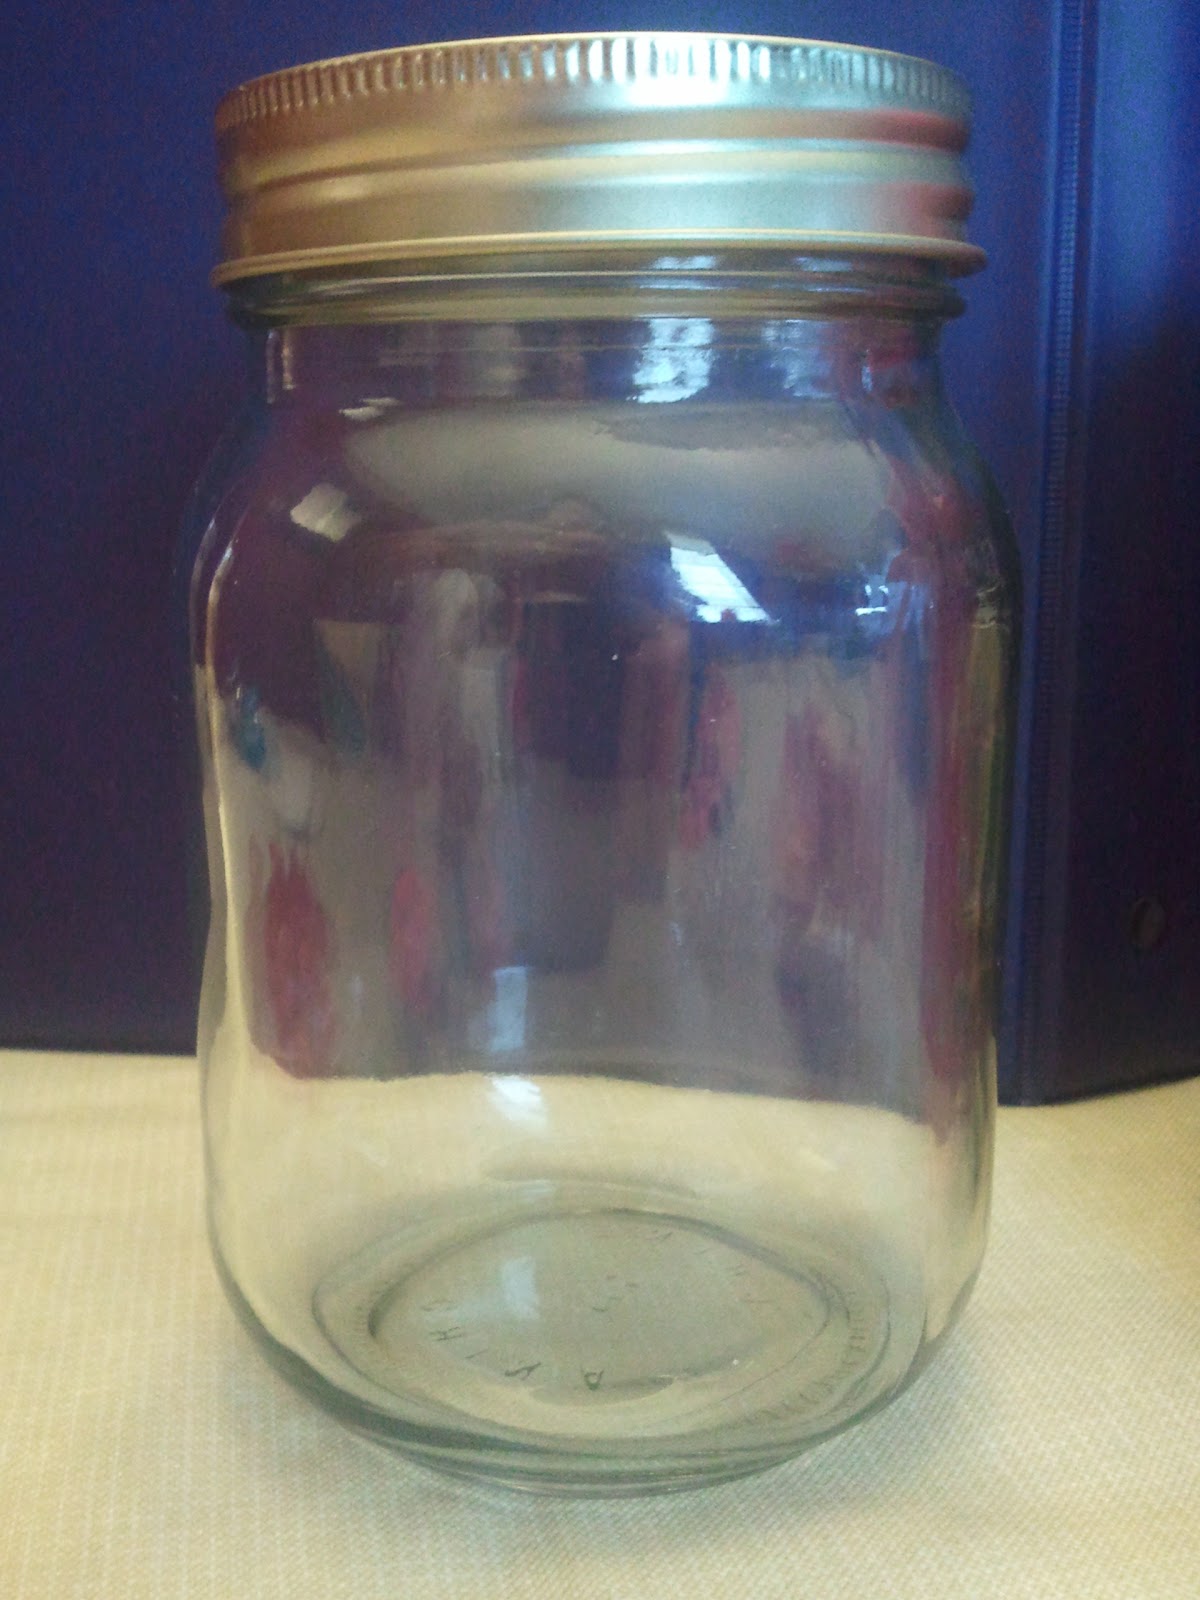
| 1 Pint Mainstays Canning Jar |
This is based on the Recipe in a Jar concept. I started by getting a dozen plain sided (Mainstays) 1 pint canning jars from Walmart (about $6) and office supplies from the Dollar Tree, Walmart and Target's "dollar deals" bins. The ones I don't use for back to school will become Christmas gifts.
 |
| Supplies |
 |
| Rubber bands ($1 from Dollar Tree) |
 |
| Mini Highlighers (6 @ $1.25 at Walmart) |
 |
| Mini Clips (10 @ $1 from Dollar Tree) |
 |
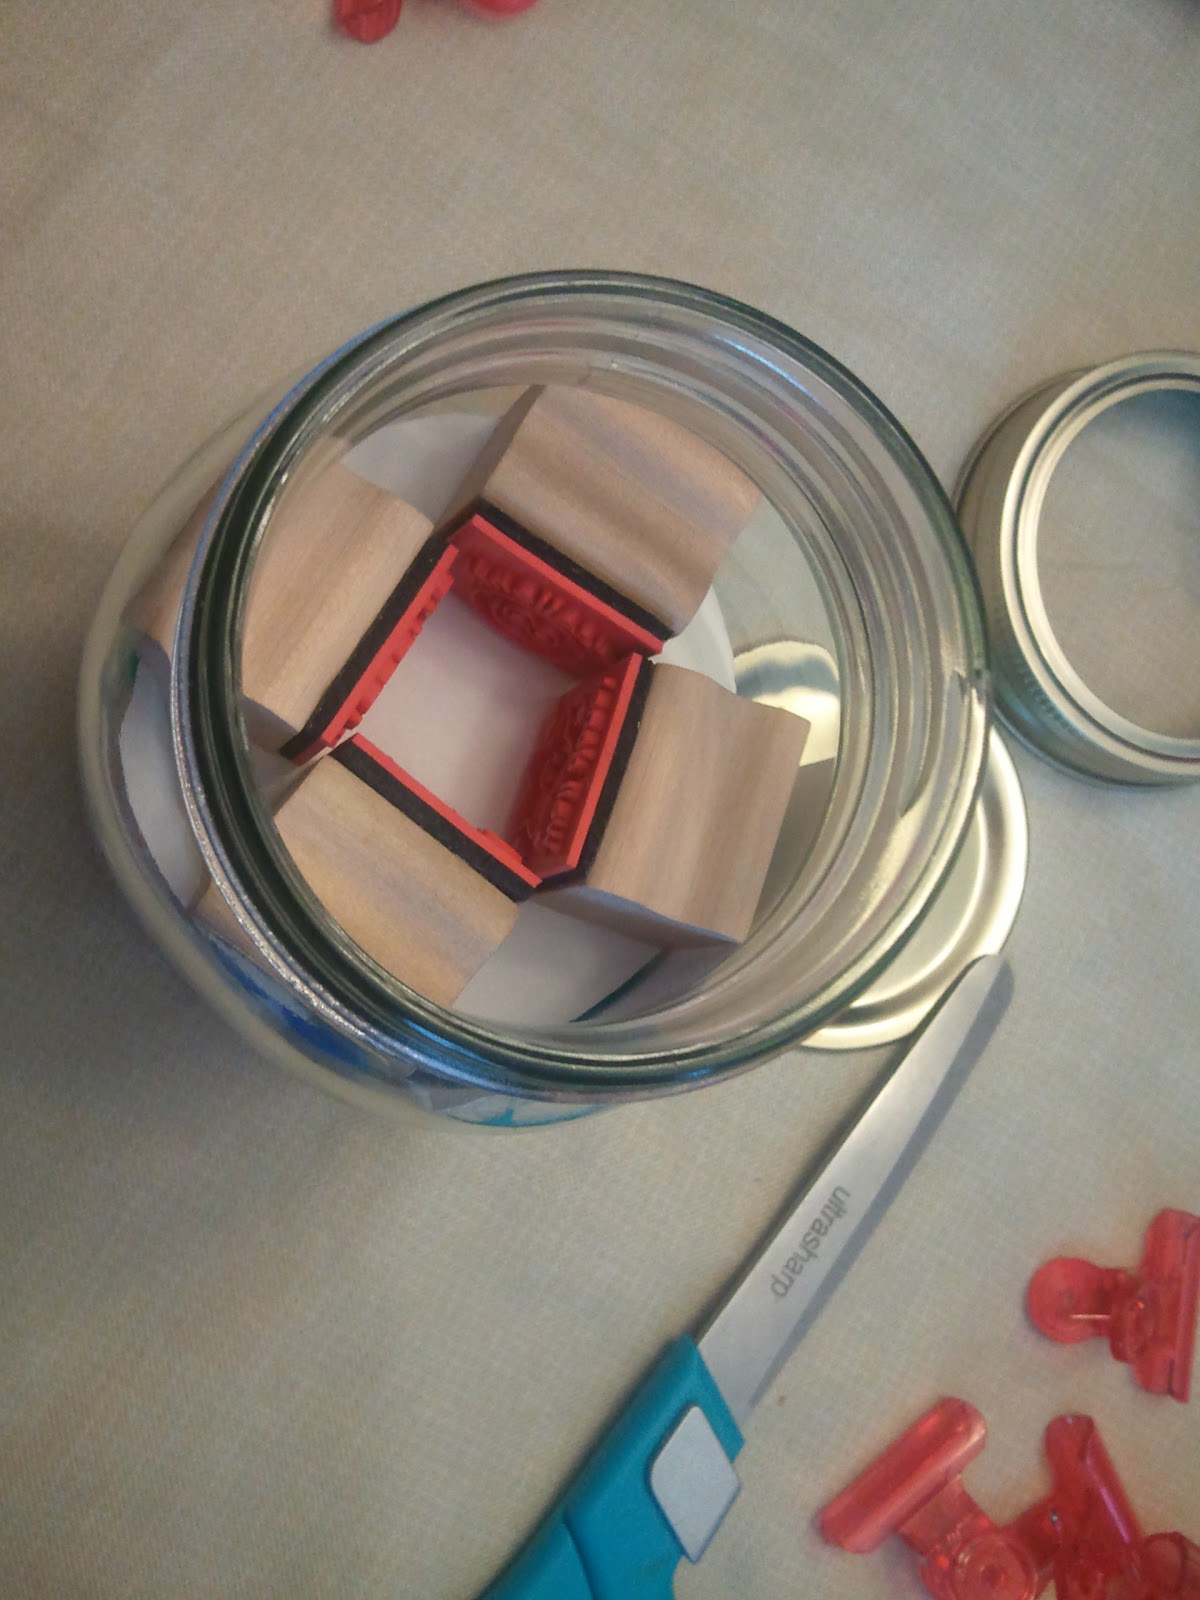
| Small Stamps (4 @ $1 from Target) |
 |
| Pencil Sharpeners ($1 package from Dollar Tree) |
 |
| Candy (Starburst 75 cents from Target) |
 |
| Pushpins ($1 package from Dollar Tree) |
 |
| Erasers ($1 from DollarTree) |
 |
| Binder Clips (8 @ $1 from Dollar Tree) |
|
You can use any kind of supplies you want, these worked for me and most of the packages I split in half so that I could get two jars out of them. The pretty thing about recipes in a jar is the contrast of colors. A lot of office supplies come in bright colors, so I got the pushpins in clear, binder clips with a design and mini-clips in red to help with the contrast. Really though, the shapes of the materials give it quite a lot of contrast, so you can use pretty much anything.
This is super simple. The only other thing you need is some card stock or poster board cut into 2 1/2 inch circles to put between the layers to keep the smaller items in their place.
For larger items, like full-size erasers and highlighters, I arranged them so that the colors could be seen easily from at least two sides.
I topped mine off with candy!
 |
| Total cost - about $5 per jar |
Top it off with a pretty ribbon and the free printables below. Here is how the recipe goes (depending on what you use).
Welcome back to school! Here is a recipe for success to get you started off right!
Rubber bands - Always be flexible
Erasers - We all make mistakes
Push pins - Stick to it
Pencil sharpeners - Stay sharp
Highlighters - Focus on what's important
Clips/binders - Keep it together
Stamps - You have our stamp of approval
Candy - Don't forget that life is sweet!
Voila! If you like this, will use this etc., please follow me
here on my blog, on my
Facebook page or on
Twitter! Also leave me a comment below, and send me pix of your creations and don't forget to share with your friends!
Best,


No comments:
Post a Comment